Inspiration:
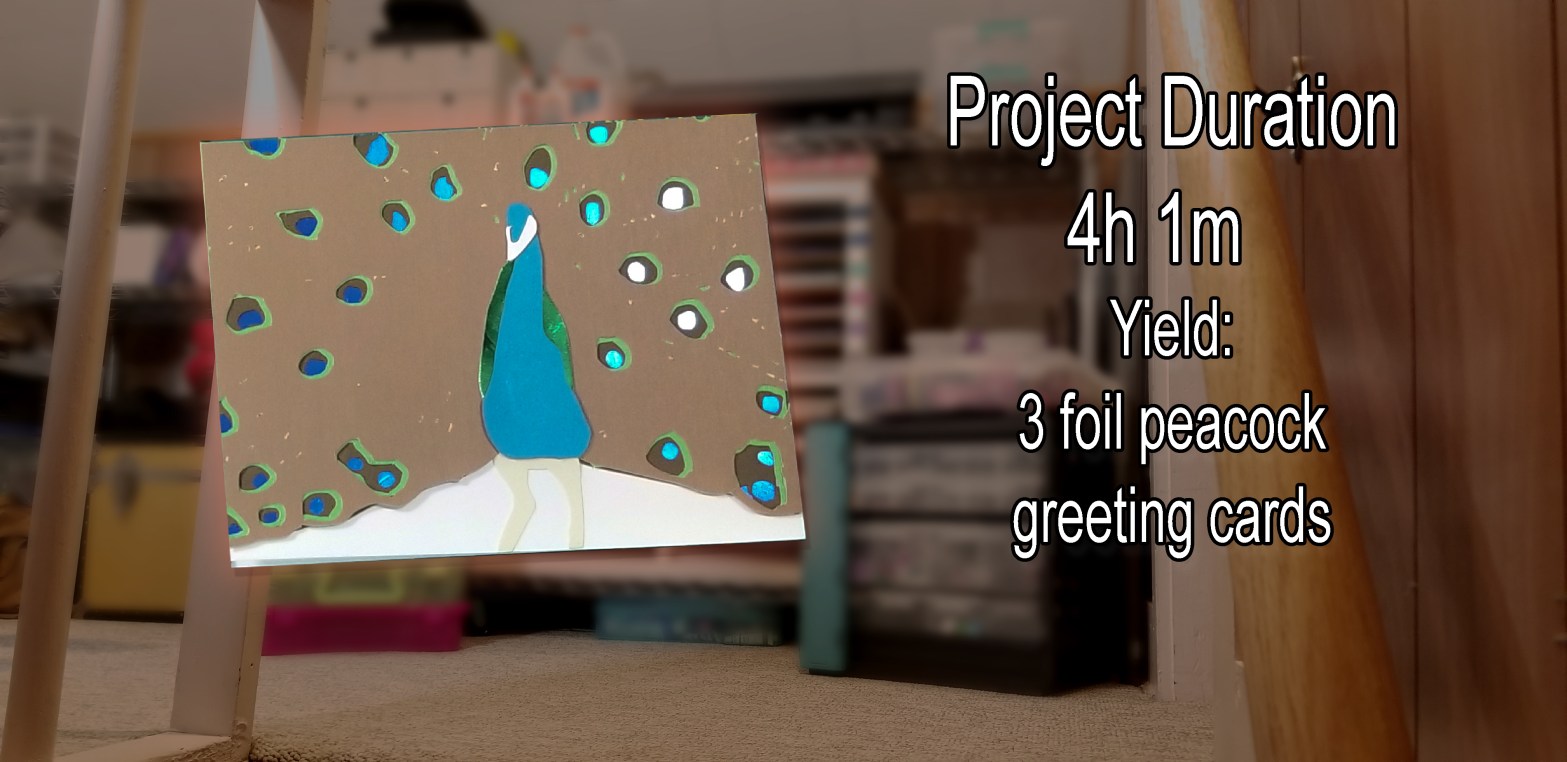
I thought it might be fun to try to create some spirit animal cards. The peacock is so beautiful and its many spots would be a challenge to design. So, of course, I started here. What other animals would you like to see in this series? Let me know in the comments!
Materials I Used:
• Several 12×12 cardstock pages including two foil pages
• Scrap cardstock from previous projects
• Art Glitter glue
• Stickies EZ Runner Permanent Adhesive
• Silhouette Cameo 4
• Cutting Mat
• Hand tools: Hook, Spatula, Razor Cutter
Software:
• Adobe Photoshop
• Silhouette Design Studio
Step 1: The Design:
I didn’t want to spend a million hours gluing several small pieces together to make the “eyes” in the feathers, so I decided to make this card with a reverse effect. Instead of gluing the small pieces together, I would cut those small pieces out and make them holes instead.
The “Eyes”:
I found an image that I liked and I brought it into Photoshop. I started by selecting the eyes (this is what I call the colorful ends of the peacock feathers), then reversed the selection and painted that in. Reverse the selection again and paint the inside for easier selection on the next layer. Make a new layer select the eyes that you just painted and shrink the selection by a few pixels. Reverse the selection and paint the entire layer. You do that for all the layers until the eyes are complete.
The Feathers:
To make the feathers I painted in the plumage with a paintbrush so the small cuts would appear in the correct pattern. Thus giving the illusion of the feathers on the top layer without too much detail. This was already a long cut and too many small cuts do not always come out well; simple is usually best. Next, select the biggest circles of the eyes and erase or delete those spots from the plumage layer. This will create the wholes that we need to expose the under layers.
Step 2: Make the pattern:
Separate all of the layers of your design and fill them with black to create the highest contrast. Export an image, .jpeg or .png will work.
Step 3: Trace the cut file:
Import the new black and white image into your cutting software and trace it using the trace tool. Then delete the black and white image and you will have your cut lines. Weld or release the compound paths to the cut lines to make individual pieces. Now you can change the fill color of each piece to reflect the true design.
Step 4: Choose your cardstock:
I used foil cardstock for the blue in the feather eyes and for the green feather mane. Foil cardstock shimmers and changes color in the light and gives it a little something to grab your eye.
Step 5: Cut it out:
I decided to make four cards, so I had to cut four of every layer.
Step 6: Assemble the pieces:
I used stickies to assemble most of the bigger pieces together. I found securing every whole is important on every layer to avoid gaps and shadows. Art Glitter glue is amazing and dries quickly without cracking and losing grip. I used the glue to place the small white area on the beak as it is too small for a sticky.
Lessons Learned:
1. KEEP IT SIMPLE! I ruined one of the four cards by trying to add some pen marker to it. The idea was to add the details on the beak and the inside of the eyes. It was a mistake. The marker would not dry on the foil cardstock and I am no sketch artist; I had to toss that card. Next time, let it be!
What do you think of this card?
Is there another animal you’d like to watch come together?
Let’s chat. Leave me a comment. Be kind.

Awesome job! This is really nice looking. You could sell these!
LikeLiked by 1 person
That is very nice of you to say. Thanks!
LikeLike